Output Templates Module
- Output refers to the output of data (reports and templates) from QuickEasy BOS.
- Forms are created and saved as templates, which are then linked to each transaction (e.g. Customer Invoices) or module (e.g. Customer Age Analysis).
- Forms are generated when Output (button) is clicked and an output option is selected.
- Forms / Templates can be customised.
- Every time a template is selected from Output, the latest data is fetched and recalculated which may cause a slight delay. It could also result in the Output not matching what is on your screen (e.g. if someone else changed the transaction directly after you did).
- Lists such as Transaction Lists, Items, Customers or Suppliers can also be exported in Excel format from Output (button).
Output Templates Menu Option
The templates, which are created and added to various modules, can all be accessed from a single interface. New templates can also be created from this interface.
Templates are automatically added to this interface once they are added to a module.
Navigation: Main Menu > Setup > Output Templates
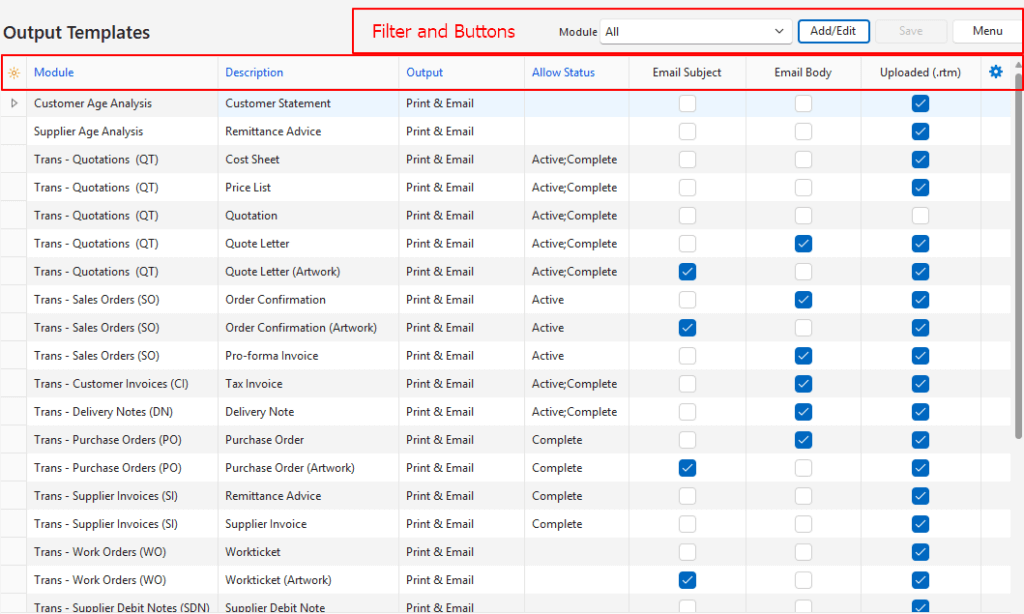
Buttons Explained
| Button | Description |
|---|---|
| Add/Edit | Allows a new template to be added, or existing templates to be edited. |
| Save | Saves any changes. |
| Menu | Layout |
Filters Explained
| Filter | Description |
|---|---|
| Module | A dropdown list of all the Modules for users to select one. |
Fields Explained
Blue captions in QuickEasy BOS indicate the fields are editable.
| Field | Description |
|---|---|
| ID | The system-generated number for the entry. |
| Module | The name of the Module if the template was created for a specific module. Else the word All. / A dropdown list for users to select a Module. |
| Description | The name given to the output template. / A field to type a name. |
| Output | Indicates if the output options are Print Only, Email Only, or Print & Email. / A dropdown list for users to select Print Only, Email Only, or Print & Email. |
| Allow Status | Sets the Status Groups for which Output is allowed. Only applies to transactions. / A dropdown list of Status Groups for users to check the applicable statuses. |
| Email Subject | A checkbox that is checked when an Email Subject is created. |
| Email Body | A checkbox that is checked when an Email Body is created. |
| Uploaded (.rtm) | A checkbox that is checked when a Form Designer Template is linked. |
| Created | The date on which the entry was created. |
| Updated | The date on which the entry was updated. |
| Updated By | The User who last updated the entry. |
| Widget | A submenu with the following functions: – Load Reportbuilder (.rtm) file: Links the file created in Form Designer. – Edit Email Body: Allows users to create a pre-written email body. – Edit Email Subject: Allows users to create a pre-written email subject. – Delete: Deletes the entry. |
Learn More
- Email Edit View: Explains the interface from which emails can be created.
- Email List View: Explains the interface that lists all the emails that have been created.
- Email Templates: Explains the interface from which email templates can be created. Lists all the available data fields.
- Form Designer – Reportbuilder Tutorials: These tutorials explain how to create or edit a template (form).
- Form Designer Interface: Explains the commonly used features for the Form Designer.
- Output Button: Explains the Output button that is available on most views.
- Output Template Tutorials: These tutorials explain how to add templates to transaction types and other modules.