Menu Groups
- Menus are graphical user interface (GUI) elements that allow users to access various features and functions of an application by clicking a button (menu option).
- The Menus in QuickEasy BOS can be customised by creating Menu Groups and linking components (modules) to these groups.
- Menu Groups and Fixed Menu Items are included in Menu Templates which are assigned to users.
Navigation: Main Menu > Setup > Menus
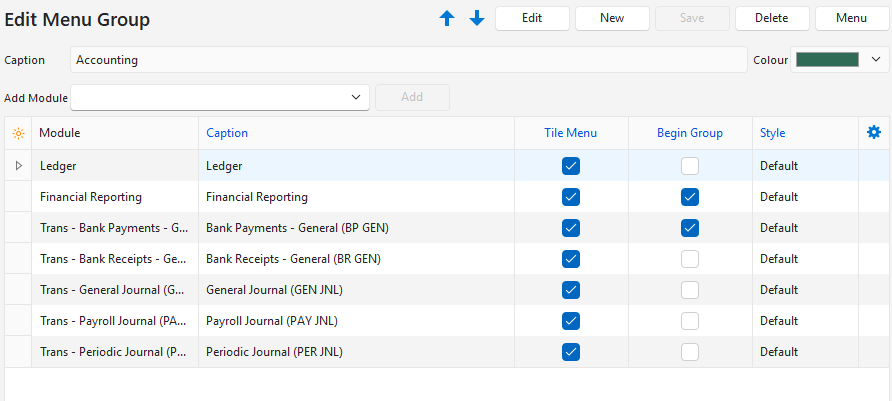
How to Create a Menu Group
- Click New (button) next to the Menu Groups caption (left panel).
- Enter a Caption in the block provided.
- Click the coloured block and choose a colour on the colour chooser.
- Select a Module from the dropdown list next to Add Module.
- Click Add (button).
- Edit the following information:
- Caption: Edit the default caption (optional).
- Tile Menu: Check the checkbox if you want the entry to appear on the tile menu. The entry is automatically added to the Main Menu (top row).
- Begin Group: If checked, adds a separator (line) before the selected menu item.
- Style: Select Default (not bold) or Bold from the dropdown list.
- Continue to add Modules to the Menu Group. Modules may be included in multiple Menu Groups.
- Change the order of the Menu Items by right clicking a row and selecting Move Up Ctrl+U or Move Down Ctrl+D from the context menu.
- Delete an entry by right clicking a row and selecting Delete Ctrl+Del from the context menu.
- Click Save (button) if not greyed out, else close the popup (changes will be saved).
How to Edit a Menu Group
- Open a Menu Group by double-clicking its name or by selecting Edit (button) from the right-click context menu.
- Click Edit (button).
- Make any changes.
- Click Save (button).
- Note: The navigational arrows next to Edit (button) allows you to scroll through the various menu groups.
How to Delete a Menu Group
You must remove the Menu Group from all the Menu Templates, before you can delete it.
- Open a Menu Group by double-clicking it or by selecting Edit from the right-click context menu.
- Click Edit (button).
- Right-click every menu entry and select Delete from the context menu.
- When there are no entries left, click Delete (button) on the top row of the popup.
- Confirm the deletion on the popup.